

Building Lego Logic Gates
Before starting to build a universal Lego logic gate, be sure your understanding of logic gates is solid. Click here to read about the design process and the breakthrough that led to a single logic gate that can mechanically represent all two-input logic gates.
Ready to build? Here's how we'll proceed:
- Use a knob wheel to position axle and cams at four unique positions.
- For Lego, four positions is easiest but for 3D printing, six would be better.
- Six positions is possible with Lego, but it's bulky and would involve gears.
- Use a rubber band "click" to force exactly 1/4 of a rotation.
- Attach two cams (1x2 lift arms) on knob wheel axle to lift logic output arm.
- Use tow ball in a 90 degree angle connector to engage knob wheel.
- Use axle lever handle to simplify input and weigh the input so it doesn't change.
- Design output lift arm so most of the weight is pushing it down. This will reset the output to down using gravity.
- Use stops to keep inputs and output from traveling too far: base, 2x8 block, and axle 1/2 bushing are used.
- Use the movable 1x2 lift arm to create two different sequences to cover all gates (0011) and after switch (0101).
- Build the model in a skeleton style to show all components.
- Include a pointer to indicate which gate is being modeled.
- Include an optional guard to prevent two inputs being moved at one time.
Download the parts list, and let's get started.


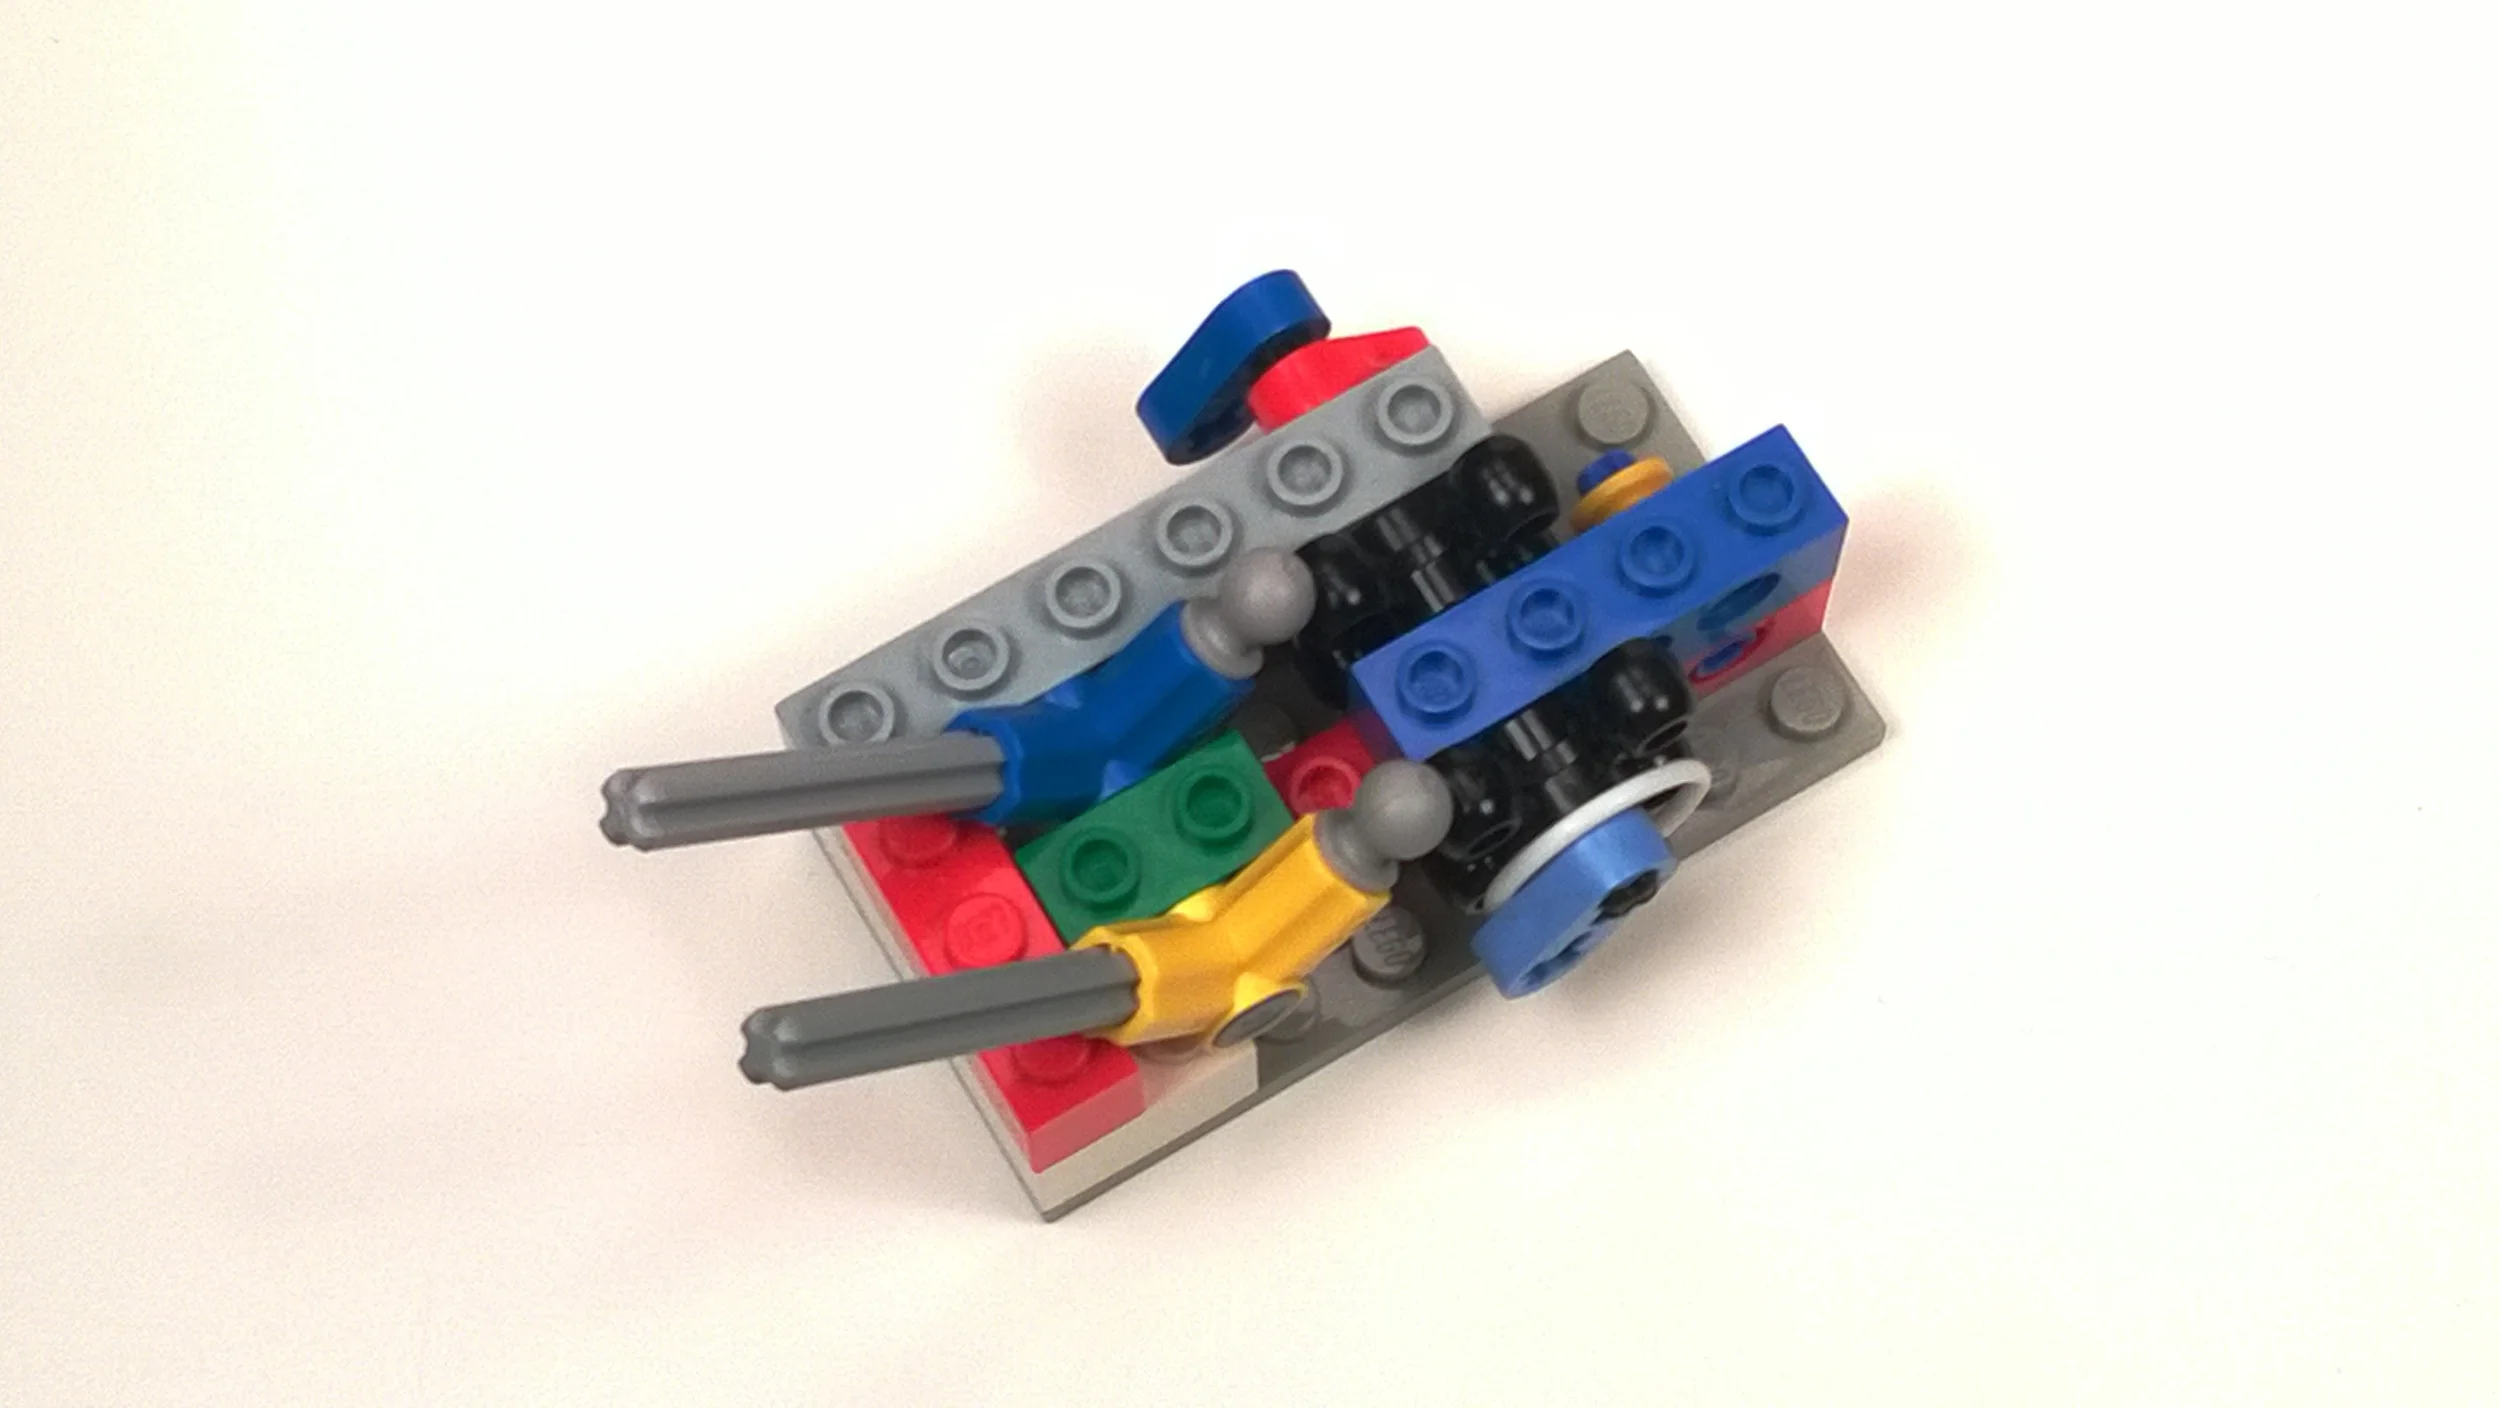


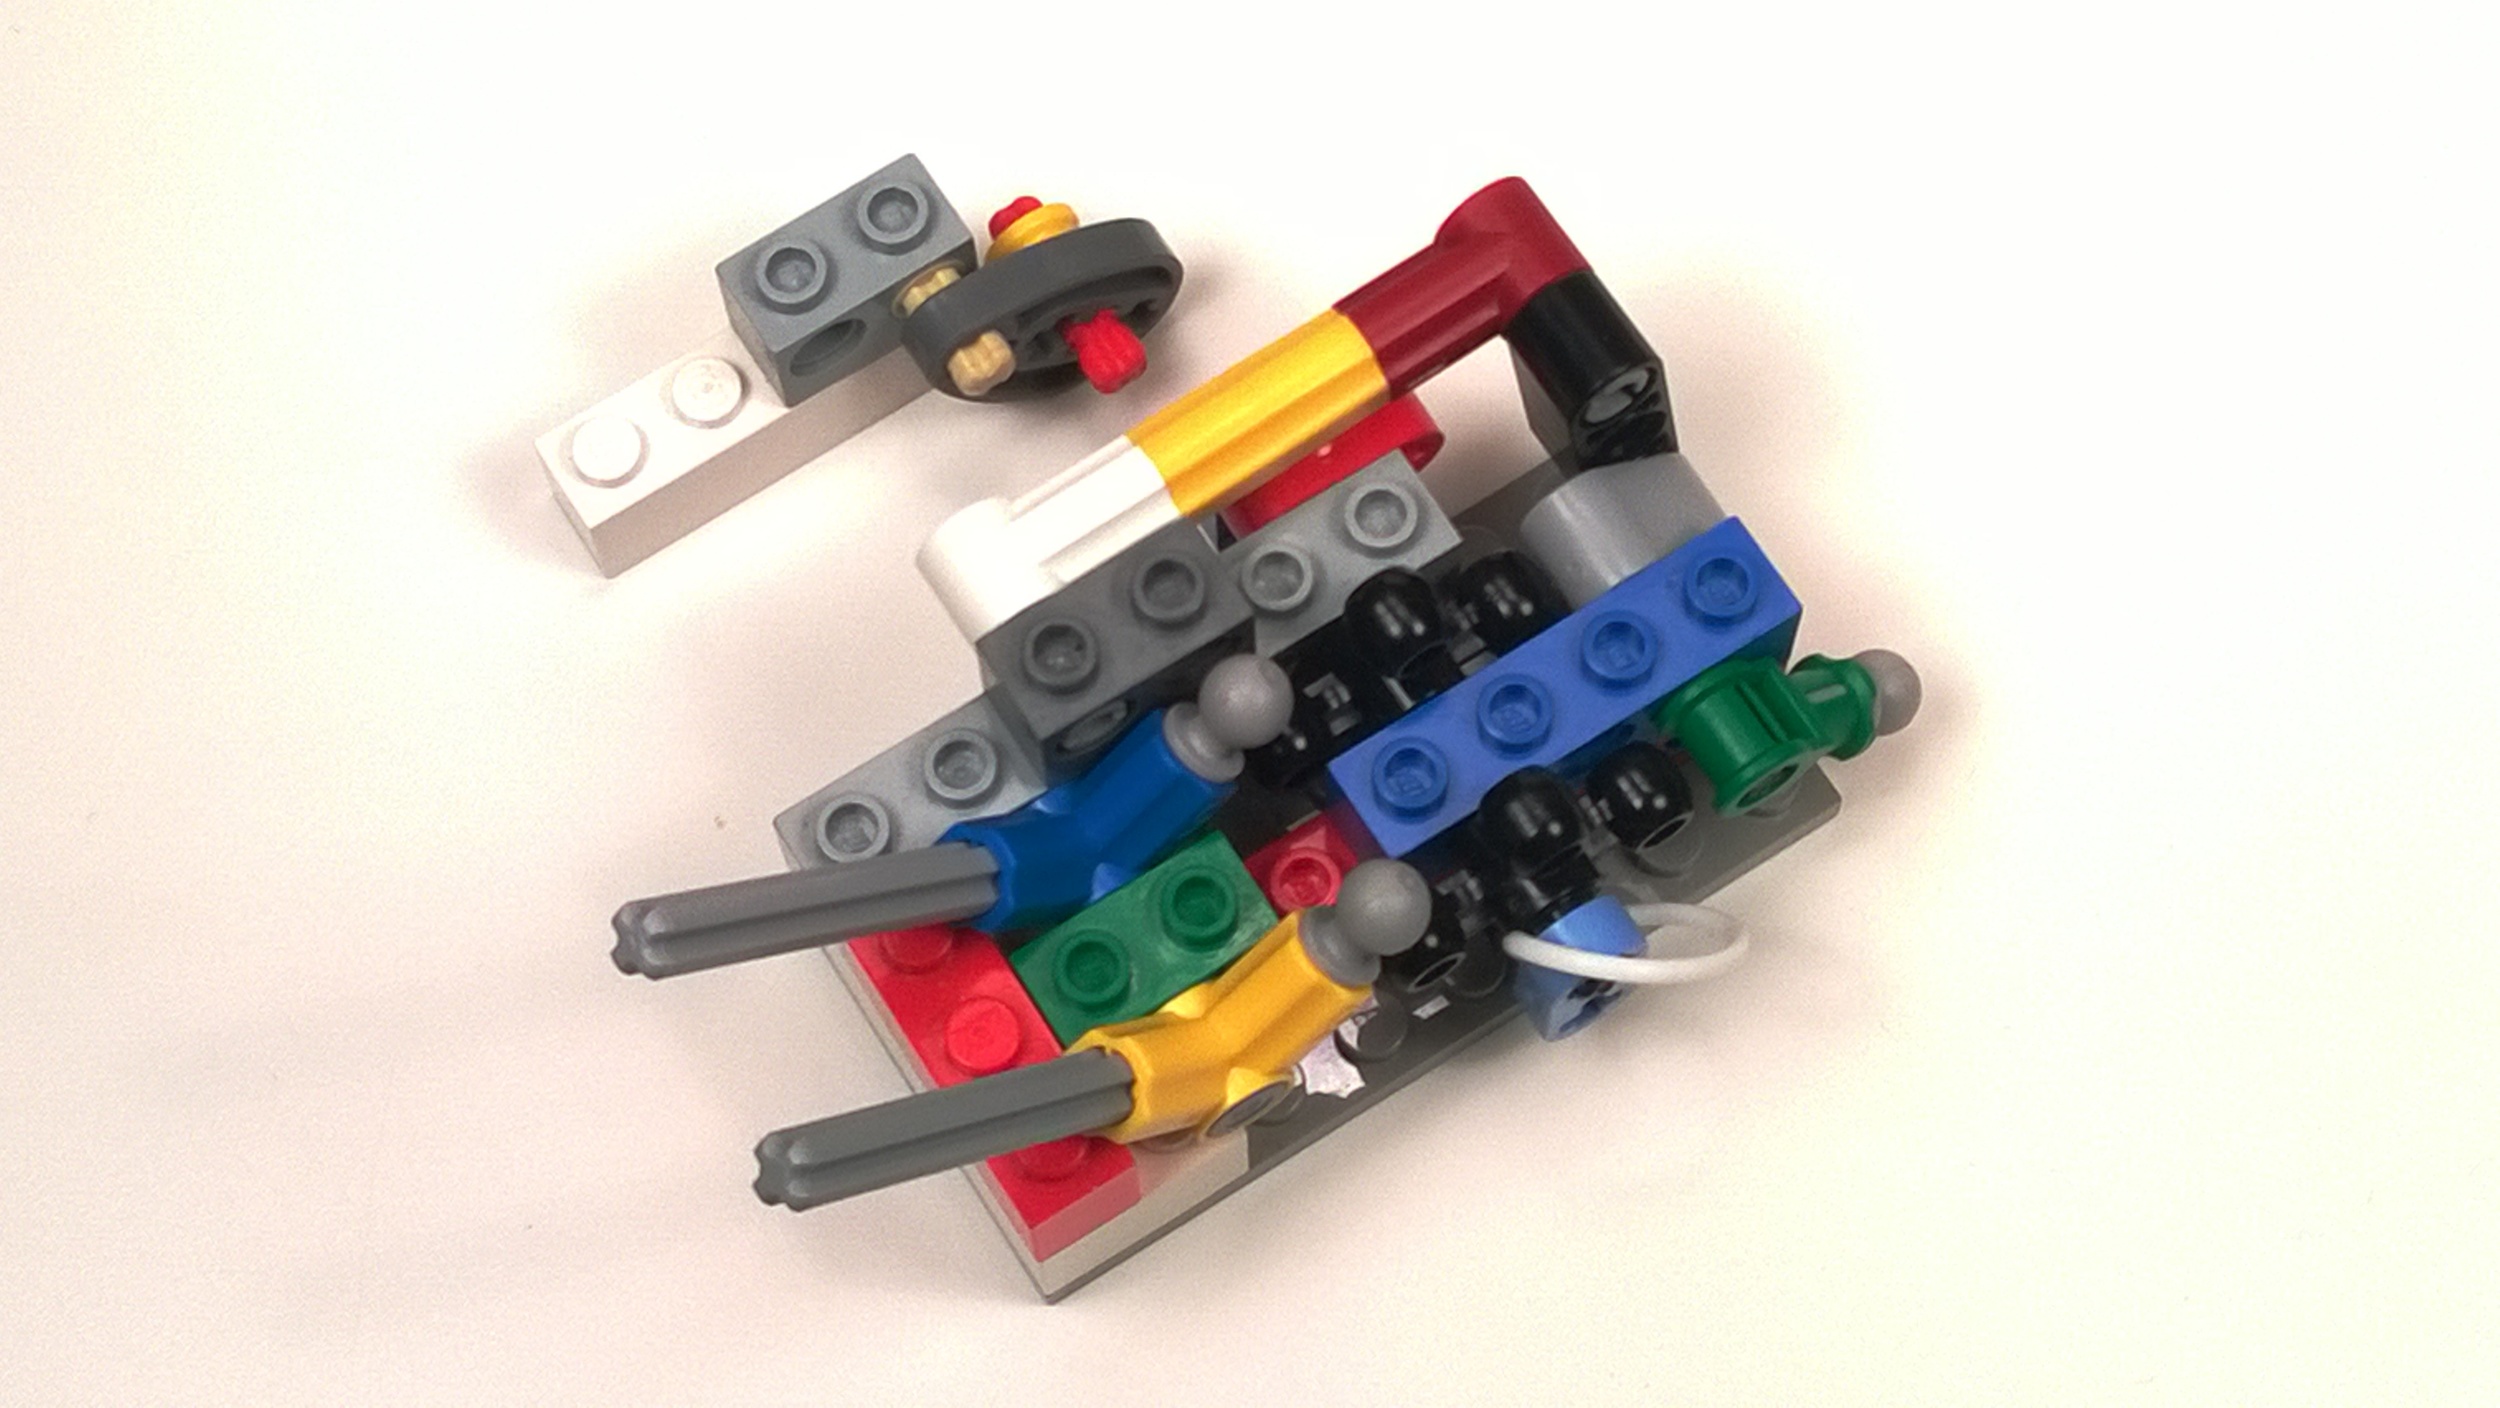

The universal Lego Logic Gate is complete.